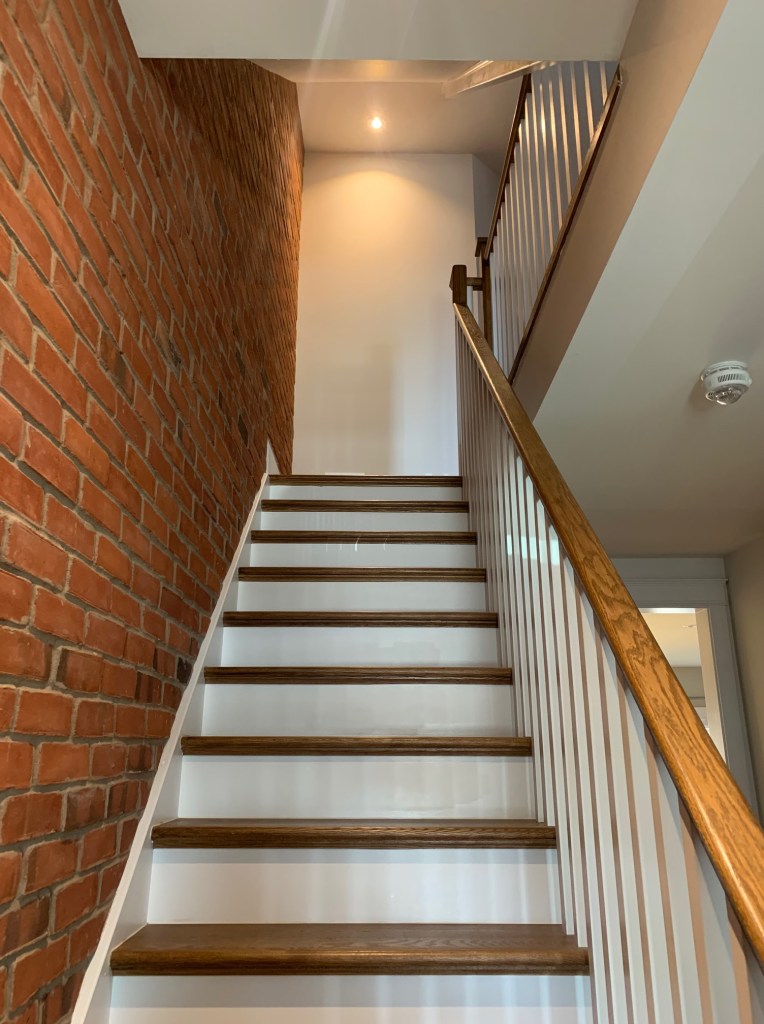
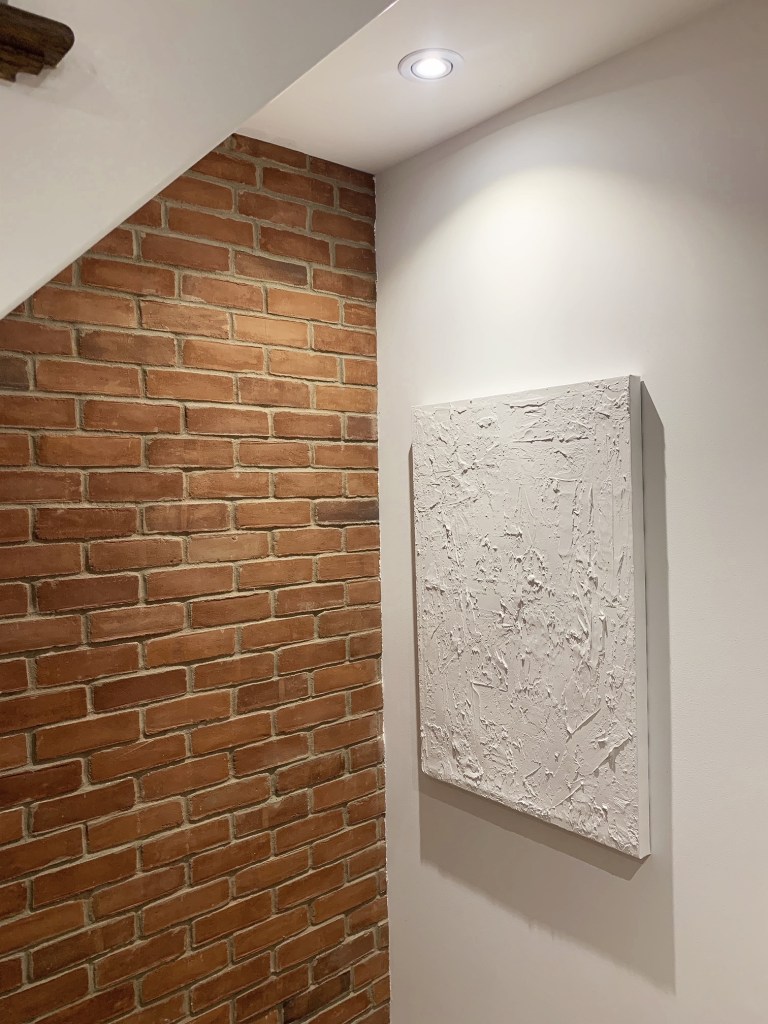
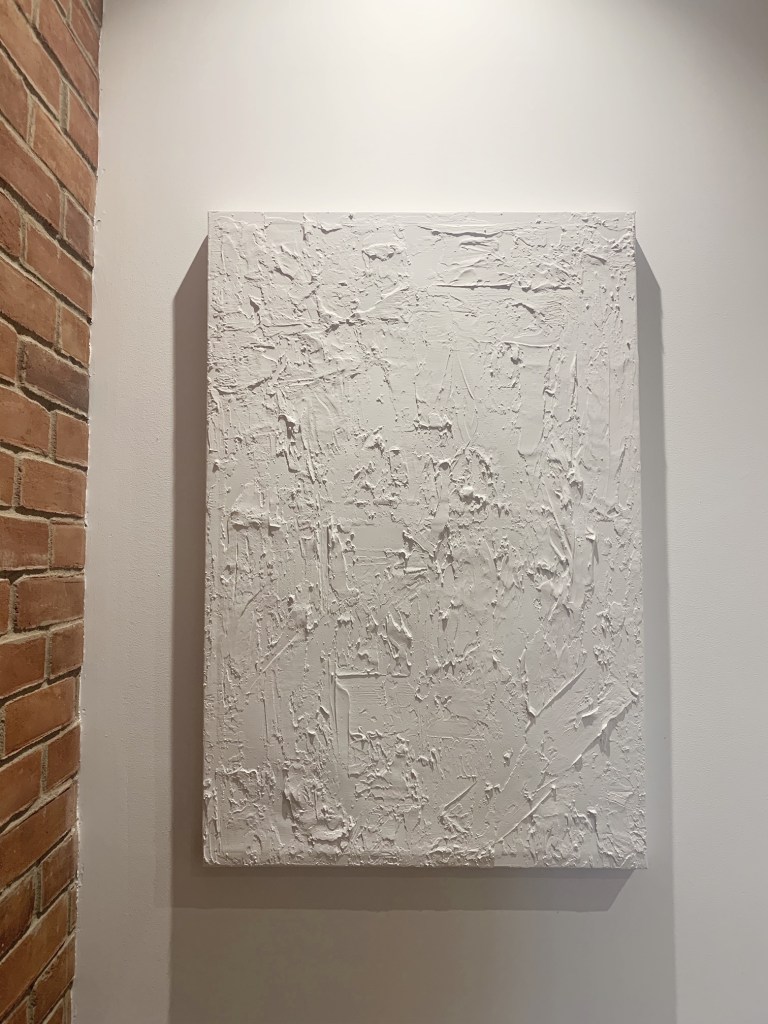
It’s been a while since I’ve posted because I’ve been busy with work – but I thought I’d share a little project I’ve worked on over the last week. Since we’re in the middle of another lockdown – I was looking for something to do on the weekend but was only able to work with what I had around the house. Ever since moving in I’ve wanted something to hang at the top of our stairs, but I wanted to be careful that it wouldn’t compete with the brick.
After seeing a few posts about DIY Textured Drywall art – I thought I’d try to make my own. Why? Because I had everything I needed, I am the worst at trying to make decisions on art pieces to buy and having the texture meant I could have it just be plain white.
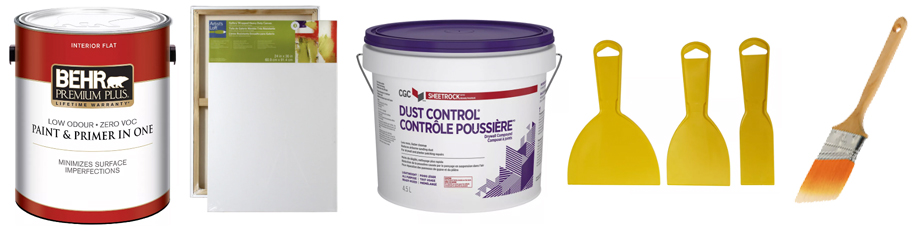
What You’ll Need :
- Drywall Compound ( I used what I had – but I’d recommend this : Dust Free Drywall Compound )
- Taping Knives / Putty Knives ( Varying Sizes – I found the plastic one worked better for me than the metal: 3-Piece Plastic Putty Knife Set )
- Paint ( I used leftover Behr Premium Plus Ultra Pure White Flat Interior Paint & Primer )
- Art Canvas ( I painted over an old 24″ x 36″ canvas print – but I’d probably start fresh if doing again: Canvas )
- Paint Brush ( I used just a regular 2.5″ angled paint brush )
How I Did It
I’m going to start with what I would do differently before you get too far into this. The only drywall compound I had at home was the stuff that goes on pink and dries white. If I were to do this again, I would use one that goes on white/gray as I found it hard to really tell if I was liking the texture I was getting while it was bubble gum pink… I would also have done a quick coat of white paint on the canvas to again eliminate the confusion between the art that was there and the texture I was trying to create. If you’re doing this on a plain or new canvas though – that wouldn’t be a problem.

I gathered all of my supplies and literally just slopped a whole bunch of the compound onto the canvas. I made sure to leave some negative space between the compound as I wanted some of the texture of the canvas to come through. I ran the knives in all different directions applying varying amounts of pressure. Some areas I scraped through hard to create a deeper ridges ( which I wish I did more of ). Some areas I layered on thick.


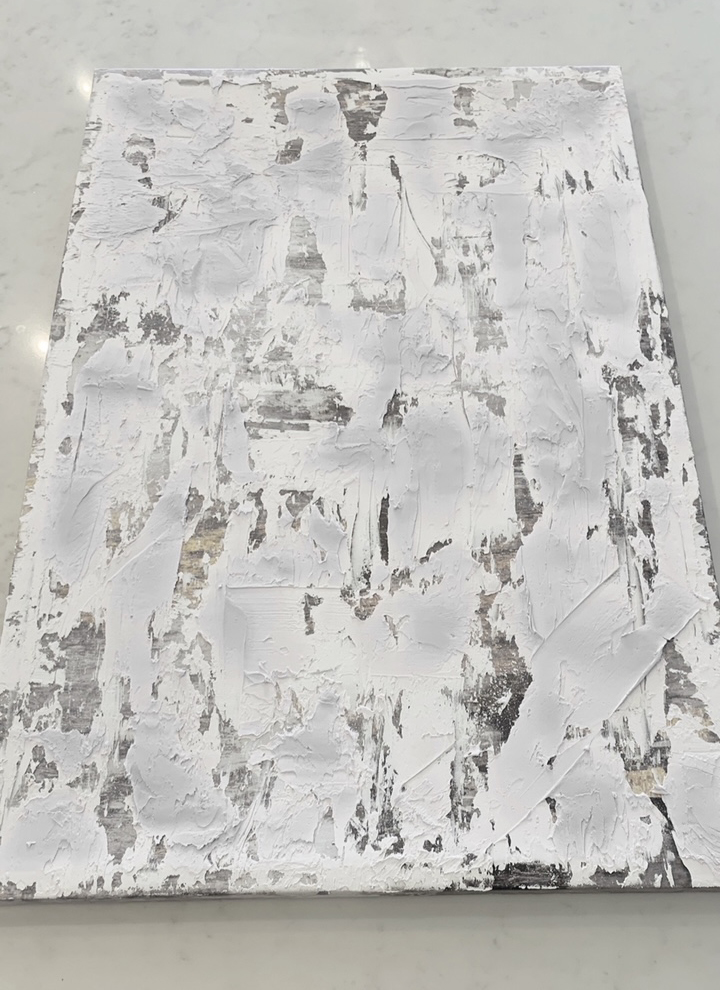
I let it dry for about three days – then after it all dried I examined it for cracks. I wrapped a little bit of saran wrap around one finger and applied more drywall compound into any cracks I could find – then let this dry an additional two days.
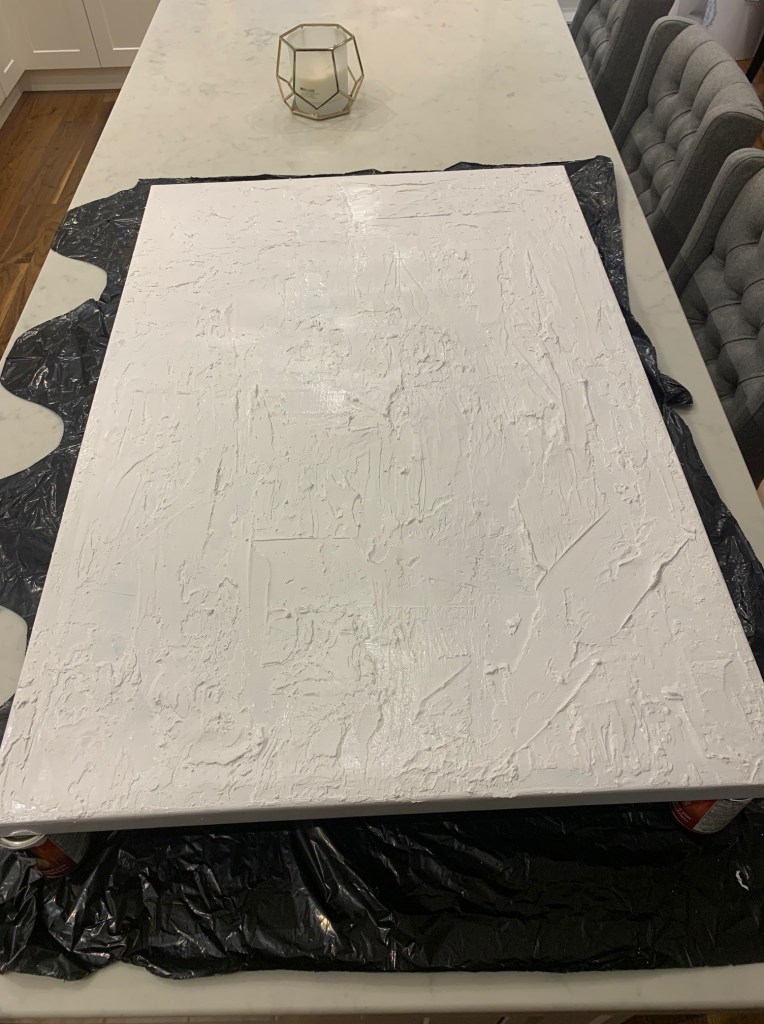
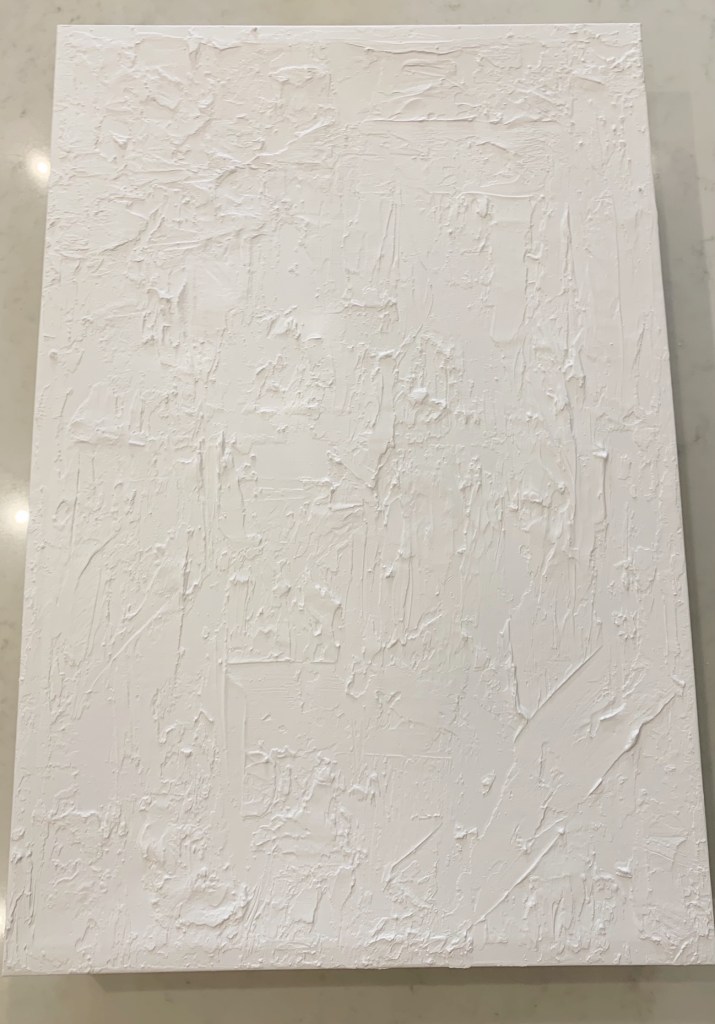
I applied two coats of paint as I could still see the previous canvas art colours coming through after the first. After the second coat dried – it was ready to hang.

I was originally going to make a narrow wood float frame – but now that it’s up I’m not sure if I even want to…
I was honestly surprised at how simple ( and inexpensive ) it was. There’s a good chance I’ll make some more versions of these for around the house. I think this would also be really great to do on an inexpensive pre-framed canvas print from Homesense / Walmart.
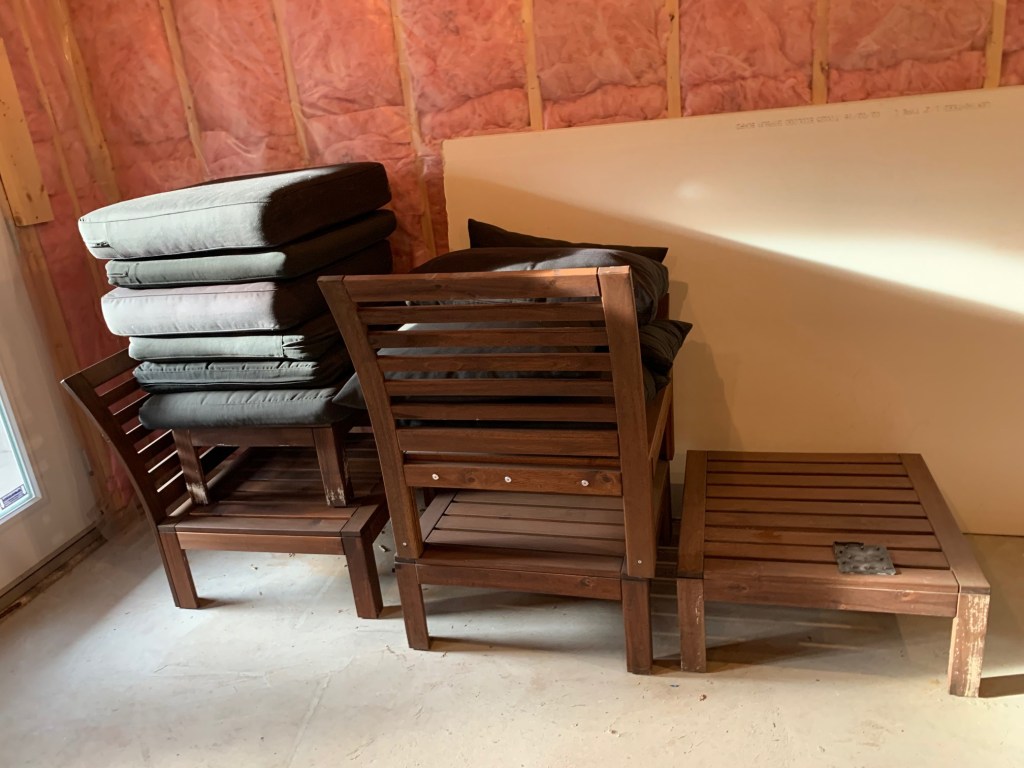
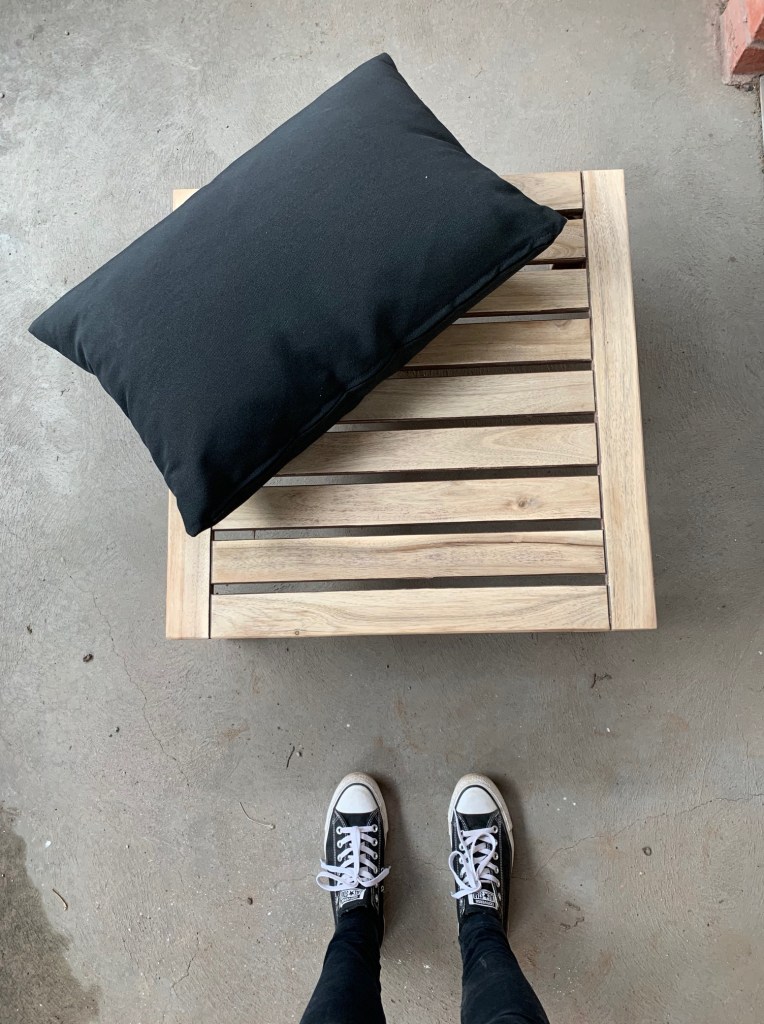
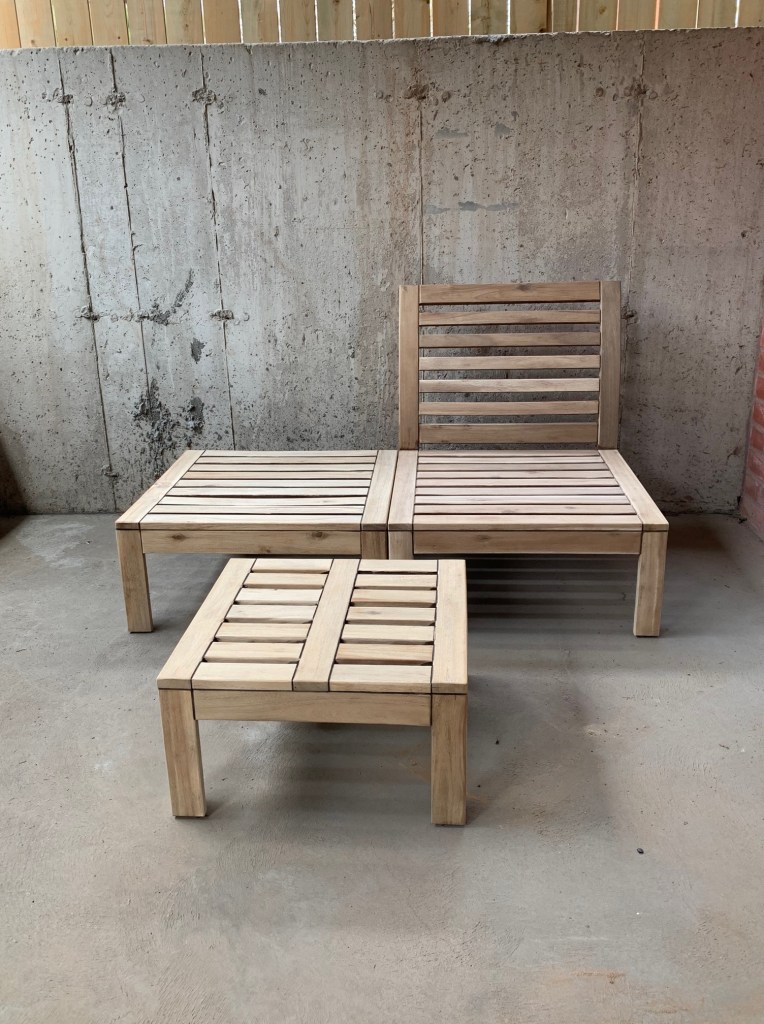
Stay tuned for my next DIY Project – sanding down and doing a light white wash / natural stain on my IKEA ÄPPLARÖ outdoor furniture set:
What home projects do you have on the go?